Body
Open Outlook Desktop App.
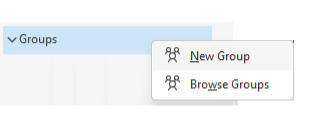
In the navigation pane, under Groups, right-click on Groups, and choose "New Group."
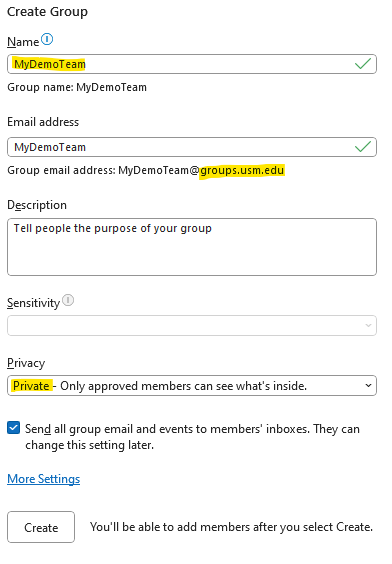
In the New Group pop-up, you can select a name that captures the spirit of the group.
Note: Unified groups include email. You do not have to use email in your group, but it is available if desired. The "email address" of the group typically follows the name of the group. You can set this to something else if you prefer. This email address will end with @groups.usm.edu. This email address is available for only group members to use, and messages will go to the group's inbox. If you would like to allow non-group members to be allowed to email the group, see Edit Existing Group Settings.
If your department or organization needs an official @usm.edu email address, please see more information regarding Microsoft 365 Mailing groups.
You can enter a description of the group if you desire.
The default security setting for new groups is Private.
It is preferred that all groups remain private. Changing this setting may expose all your information to the entire organization.
When you are ready to proceed, select "Create."
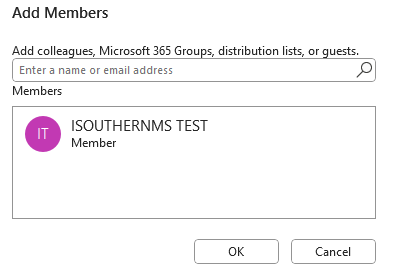
On the next page, you can add users to your group. You can type in the email address of someone in the organization, and select them from the list.
If desired: You can also add an email address of someone outside the organization. They will be emailed an invitation to the group.
You don't have to make membership decisions right away. You can skip this step and add members later.
Once the group is created, you will see it under Groups in your Outlook Desktop App.

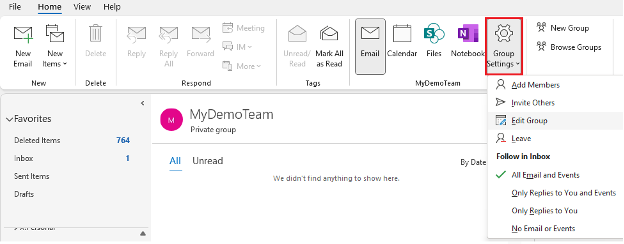
When you have your group selected, you will see the "Group Settings" button in the top ribbon. Here, you Add Members or send an invite, edit groups settings, or leave a group.
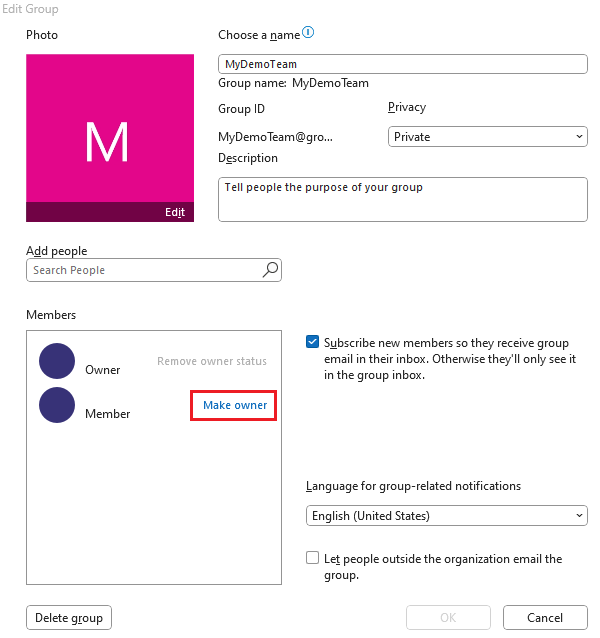
Note: It is advised that groups have more than one owner. If the original owner who created the group were to leave the organization, the group may become un-owned, and such groups are subject to be cleaned up.
To add another owner, select the Group Settings > Edit Group option. Here, you can add people as well, but you can select which users you want to make an owner.
